
Add Page to Your Website: Create metadata for title and description
In our previous lesson, we explored the process of creating a new Astro project from scratch. We learned how to use the 'yarn create Astro' command, add a license, and start the development server. If you haven't gone through the previous lesson yet, you can catch up on this link Create your first website
As we move forward, we will now venture into the next crucial steps: creating a new page. So let's get started!
1. Create an About Page
To start, open the Astro project we created last lesson. Then, we need to create a new page called the "About" page. This page will contain information about our project, team, or other important details.
To generate the "About" page in your Astro project, you can follow these steps:
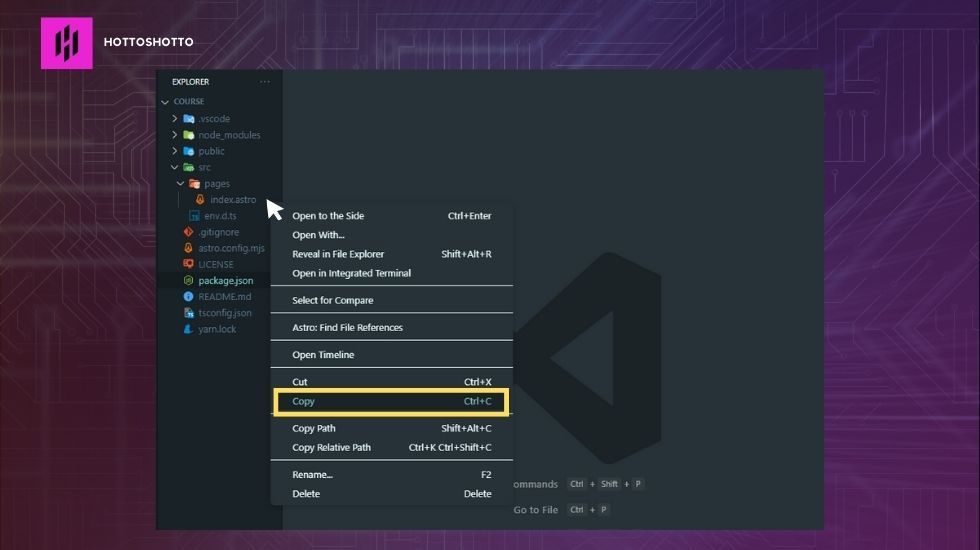
- Duplicate the existing "index.astro" file. You can do this by hovering your mouse over the "index.astro" file, right-click, and select the "copy" option.
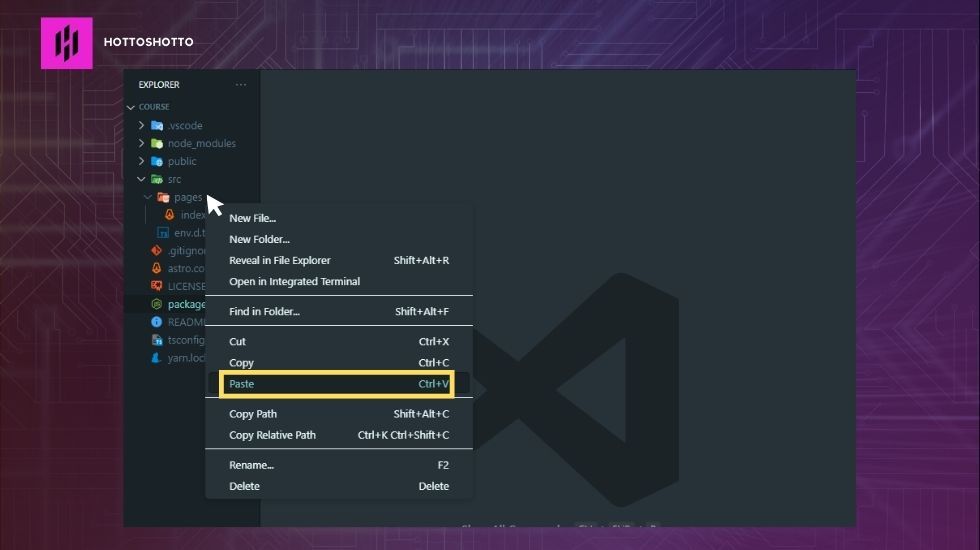
- Then, go to the pages folder, hover your mouse over it, right-click, and select the "paste" option. This will put the copied file inside the pages folder.
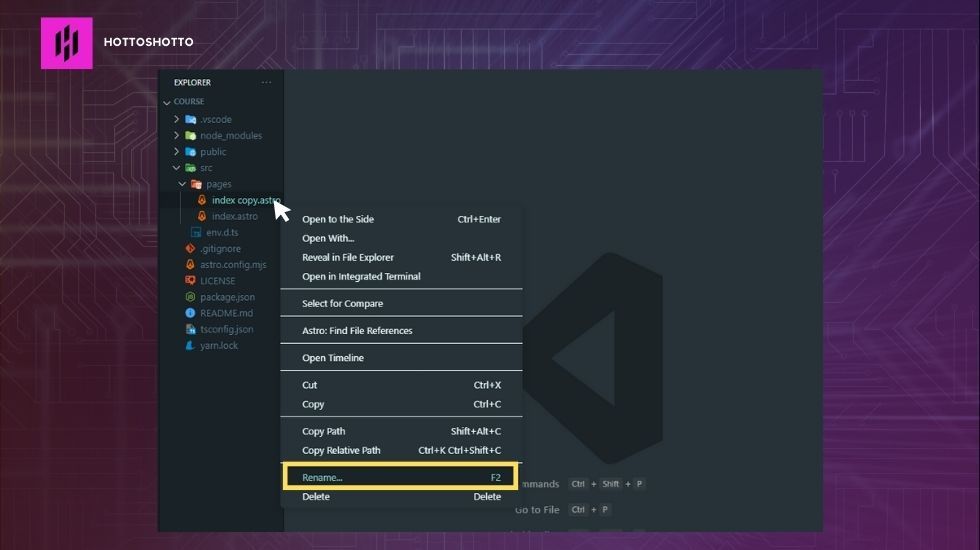
- Now, change the name of the copied file to "about.astro" by hovering your mouse over the copied file of the index.astro, then right-click and choose "rename" option. By doing this, we ensure that we have a base file to use for our new page.

2. Creating Metadata
Metadata plays a crucial role in Search Engine Optimization (SEO) as it helps search engines understand the content of a website. The metadata includes information about the website such as the page title, description, keywords, and author, among others. These pieces of information are used by search engines to determine the relevance of a website to a particular search query.
To add metadata to our Astro project, we need to create a data folder and a constants.js file. The data folder will hold the constants.js file, which will contain the metadata information for each page.
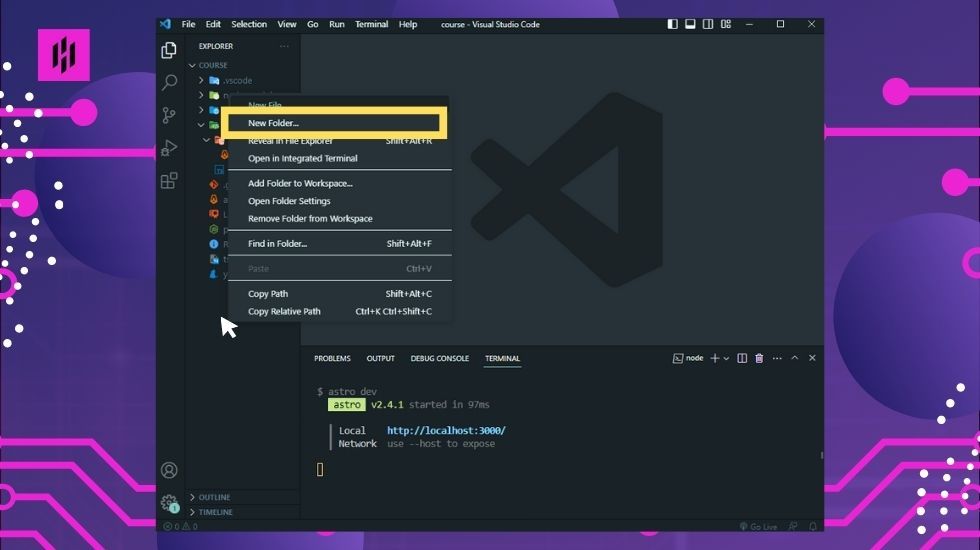
To create the data folder, navigate to the root folder of your Astro project by pointing your mouse to any open space in the explorer section then right click and select "New Folder"
Next, create a new folder called “data”.
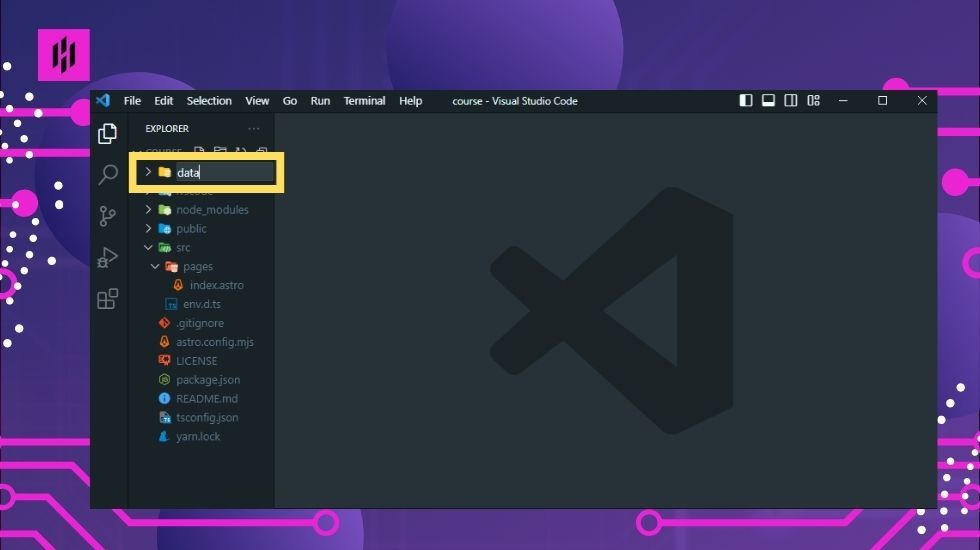
Inside the data folder, create a file called “constants.js” by pointing your mouse in the data folder then right click and select "New File"
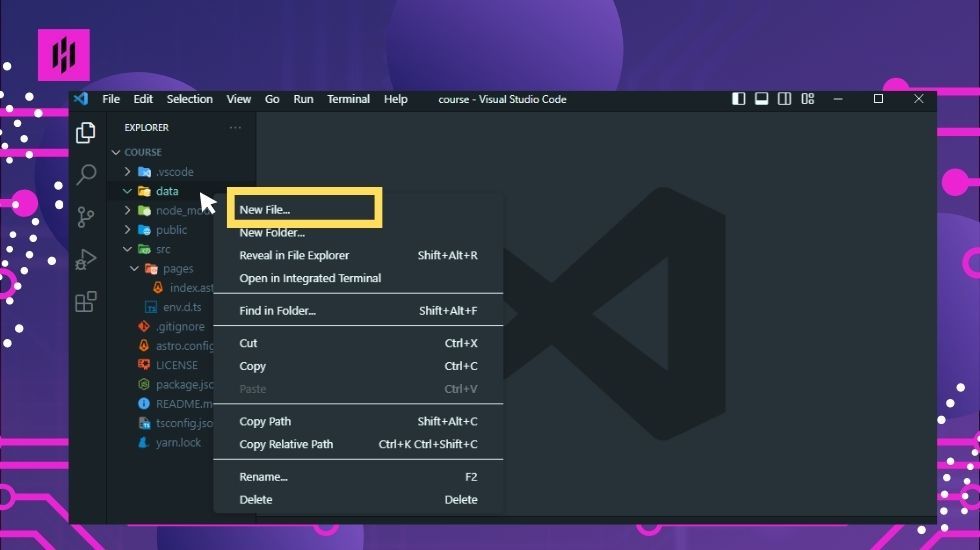
Then type in "constants.js"

In the constants.js file, we will create an object called “pages'' which will hold the metadata information for each page in our project. The “pages” object will have key-value pairs for each page, where the key will be the page name and the value will be an object containing the title, description, and ID of the page.
Here’s an example of how the pages object would look like:
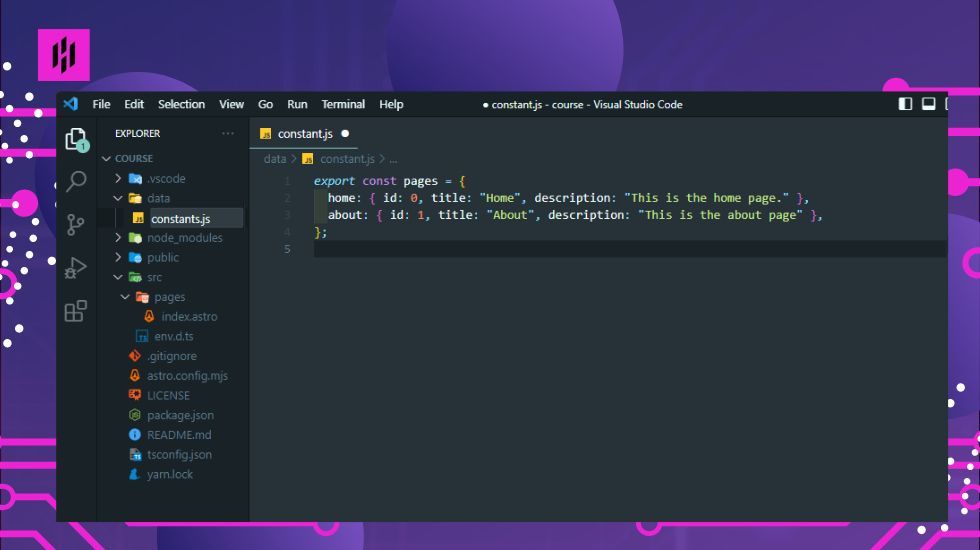
To do this, type the following codes below inside your "constants.js" file.
export const pages = {
	home: {id: 0, title: "Home", description: "This is the home page."},
	about: {id: 1, title: "About", description: "This is the about page."},
};
In the example above, we have two pages: Home and About. Each page has a unique id, title and a description. These pieces of information will be used in the page’s HTML code to provide metadata to the search engines.
By adding metadata to our Astro project, we are giving search engines more information about our website and its pages. This can help improve our website’s visibility in search engine results and ultimately drive more traffic to our website.
3. Update Home and About with metadata
Now that we have our metadata set up, we can now edit the H1 element in our homepage (index.astro) and about page to display the page title dynamically.
In web development, the H1 or the heading 1 tag is one of the most important elements of a webpage as it serves as the main title of the page. It is usually the first thing that users see when they visit your website. That’s why editing the H1 is important as it not only helps you make a good impression to your users, but it also plays a crucial role in search engine optimization (SEO).
When search engines crawl your website, they take into account the content of the H1 tag as it helps them determine the relevance and topic of your webpage. This means that having a properly optimized H1 tag can greatly improve your website’s visibility and ranking on search engine results pages (SERPs).
Updating Home metadata
To edit the H1 in your Astro project, open the index.astro file which will serve as your homepage. Index.astro file is located at the left side bar under the pages folder. Open the index.astro by just clicking on it.
Once you are in the index.astro file, follow the steps below:
- In the upper part where --- is located, input the codes within the two ---. This code will allow you to access the title and description properties from the constants.js file that we previously created.
import { pages } from "../../data/constants";

const {
  home: { title, description },
} = pages;
- Next, we need to modify the HTML codes in the head and body parts of our homepage. First, in the head part, update the title tag by adding the {title} property, which will dynamically update the title based on the page you are on. To do this add the curly braces and the “title” variable to the title element in the head section, like this:
<title>Astro: {title}</title>
- We also need to add a meta description to the head section, like this:
<meta name="description" content={description} />
This meta tag will tell search engines what your page is about.
Here’s the modified head part of the index.astro file would look like:
---
import { pages } from "../../data/constants";

const {
  home: { title, description },
} = pages;
---

<html lang="en">
  <head>
    <meta charset="utf-8" />
    <link rel="icon" type="image/svg+xml" href="/favicon.svg" />
    <meta name="viewport" content="width=device-width" />
    <meta name="generator" content={Astro.generator} />
    <title>Astro: {title}</title>
    <meta name="description" content={description} />
  </head>
</html>
- Finally, we’ll need to update the body section of our homepage to include a main section, where we can display the page’s title and description using the data from our constants file. Here’s the updated code:
<body>
  <main>
    <h1>{title}</h1>
    <h2>{description}</h2>
  </main>
</body>
This is how the codes in the index.astro would look like:
---
import { pages } from "../../data/constants";

const {
  home: { title, description },
} = pages;
---

<html lang="en">
  <head>
    <meta charset="utf-8" />
    <link rel="icon" type="image/svg+xml" href="/favicon.svg" />
    <meta name="viewport" content="width=device-width" />
    <meta name="generator" content={Astro.generator} />
    <title>Astro: {title}</title>
    <meta name="description" content={description} />
  </head>
  <body>
    <main>
      <h1>{title}</h1>
      <h2>{description}</h2>
    </main>
  </body>
</html>
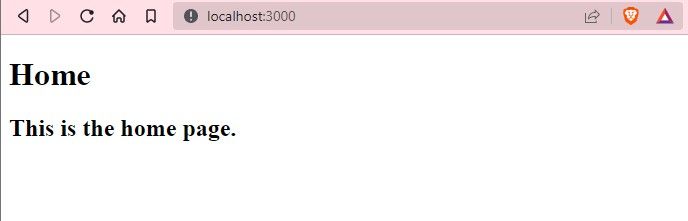
That's it! By following these steps, you will have successfully updated the metadata for the Home page in your Astro project. The H1 tag will now dynamically display the page title, and the meta description will inform search engines about your page's content.
This is how the output would look like in your developer server:
Updating the About metadata
After editing the metadata of the index.astro, we can now proceed in updating the about page. To do this, we need to copy all the codes we have in the index.astro by selecting all the codes and hit Ctrl+c in your keyboard. This will copy all the codes that you've selected.
Then go to the about.astro file and replace all the codes in the about page by selecting all the codes and hit Ctrl+v in your keyboard. This will paste all the codes that you've copied in the index.astro
Next, replace the const codes in the upper part by copying the codes below:
const {
  about: { title, description },
} = pages;
This is how the codes in the about.astro would look like:
---
import { pages } from "../../data/constants";

const {
  about: { title, description },
} = pages;
---

<html lang="en">
  <head>
    <meta charset="utf-8" />
    <link rel="icon" type="image/svg+xml" href="/favicon.svg" />
    <meta name="viewport" content="width=device-width" />
    <meta name="generator" content={Astro.generator} />
    <title>Astro: {title}</title>
    <meta name="description" content={description} />
  </head>
  <body>
    <main>
      <h1>{title}</h1>
      <h2>{description}</h2>
    </main>
  </body>
</html>
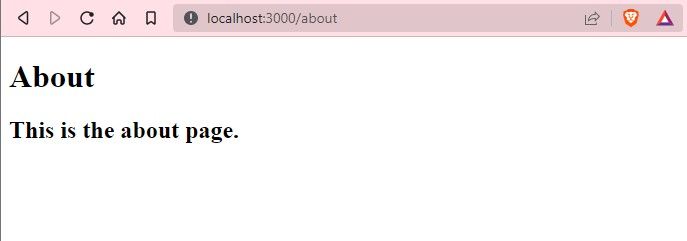
This is how the about page output would look like in your developer server:
That's it! By following these steps, you will have updated the metadata in the Home and About pages of your Astro project, allowing dynamic display of titles and descriptions based on the page and improving SEO.
Next Step
As we wrap up this chapter and look ahead to the next stage of our Astro project, the time has come to focus on creating a default layout. This step is pivotal in establishing a consistent and visually appealing design across multiple pages of our website. By implementing a default layout, we can ensure a seamless user experience and enhance the overall aesthetics of our Astro project.
To dive deeper into the process of creating a default layout, refer to our next lesson: "Create a layout for your website" This lesson will guide you through the essential steps and best practices for crafting an engaging default layout that captures the essence of your project.
With the default layout in place, your Astro project will exude professionalism and provide a cohesive look and feel across all pages. Stay tuned for our next lesson, where we will unlock the secrets of designing captivating default layouts that leave a lasting impression on your website visitors.
Click here to access the next lesson: Create a Layout for Your Wbste