
Start Learning Web Development Today: Installing Essential Software and Tools
Welcome to the 1st lesson of our beginner's guide to web development! In this lesson, we will dive into the essential step of installing the necessary software for web development.
The purpose of this lesson is to familiarize you with the software tools that are fundamental for web development. We will walk you through the process of installing these tools, ensuring that you have a seamless setup that allows you to write, test, and deploy websites effectively.
So, let's get started!
1. Install node.js
Node.js is a JavaScript runtime environment that allows developers to create server-side applications and run JavaScript code on the server. It is an open-source platform that is used to build fast and scalable server-side and networking applications.
To install it, go to the official Node.js website https://nodejs.org/en in your browser and choose the LTS version or the latest version (current) of Node.js for windows. Once downloaded, open NodeJS installer without disturbing other settings, click on the Next button until it’s completely installed.
After downloading, open the PowerShell by searching it in your applications and type node -v and hit enter
node -v
The node -v command is used to display the version number of the Node.js runtime installed on your machine.
(*) If the command doesn’t work after installation, close and restart PowerShell.
2. Install Git
Git is a version control system that helps developers manage and keep track of changes to their source code. It allows them to easily collaborate on projects and keep a history of the changes that have been made.
To install Git, check first the system type of your computer, 32-bit or 64-bit.
Here’s a step you can follow to check the version of your computer.
- Search in your computer the About and select open
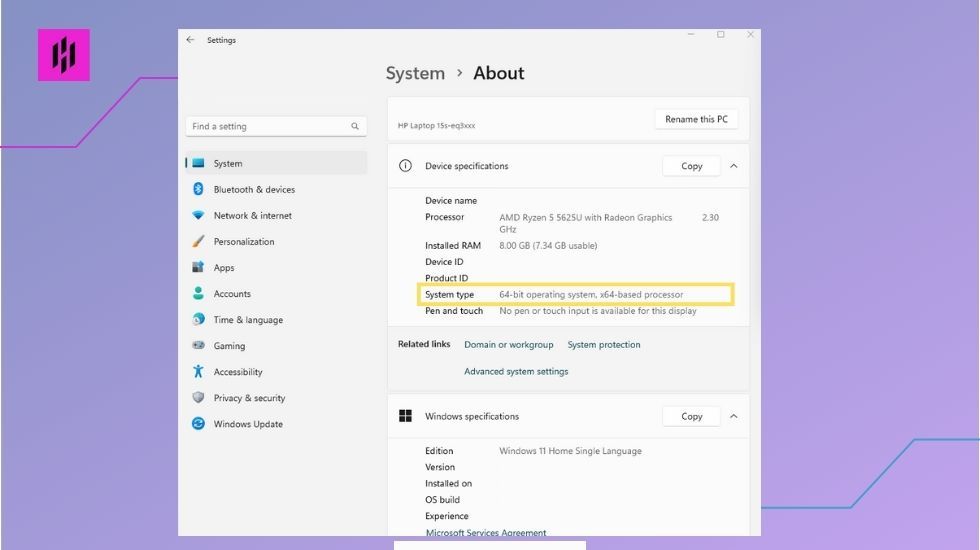
- Check the system type of your computer in the Device specifications.
Once system type is checked, go to https://git-scm.com/download/win , choose a standalone installer that fits your system type.
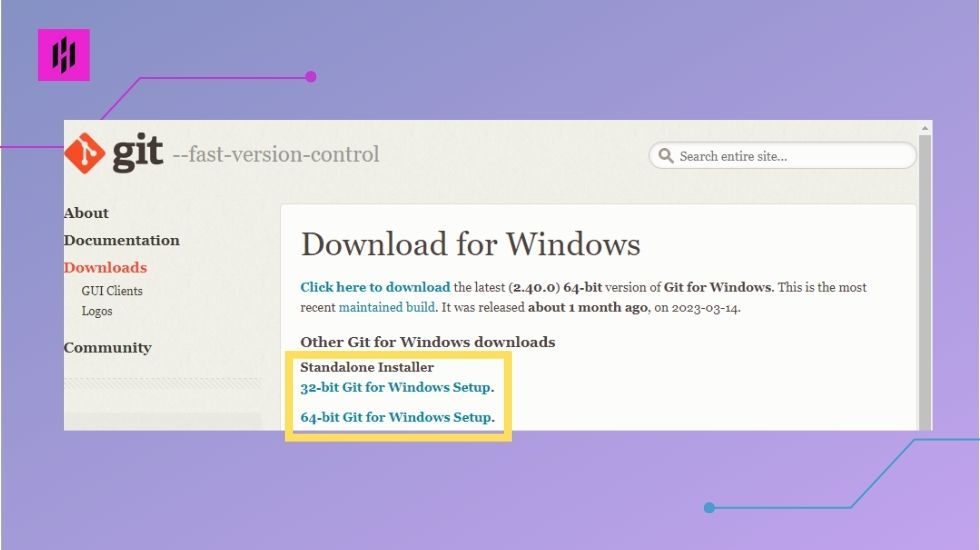
Once downloaded, open Git installer without disturbing other settings, click on the Next button until it’s completely installed.
3. Install Visual Studio Code
Visual Studio Code is a powerful and lightweight code editor that's perfect for web development. It's free and open source, and it comes with a ton of useful features that make coding a breeze.
To download Visual Studio Code, go to the official website: https://code.visualstudio.com/Download and choose the version for Windows and download it.
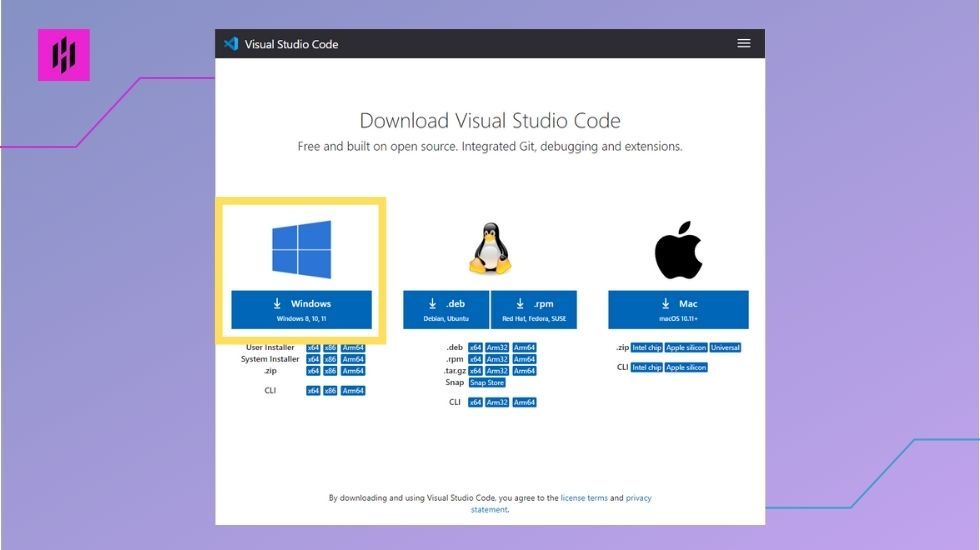
Once downloaded, open the Visual Studio Code installer without changing other settings and click on the “Next” button until it’s completely installed.
Next Step
Ensuring successful installation of these software tools is crucial as they form the foundation of your web development environment. Proper installation guarantees that you can leverage their functionalities seamlessly and maximize your productivity during the development process.
In the next lesson, we will focus on configuring Visual Studio Code to tailor it to your specific needs and preferences. By personalizing the editor and exploring its various customization options, you will be equipped with a highly efficient and optimized development environment. Now, it's time for you to take action and dive into the next chapter. Follow along and discover how to configure Visual Studio Code to supercharge your web development journey.
Are you ready to continue this learning adventure with us? Follow this link to access the next chapter: Configuring Visual Studio Like a Pro