
Add Image on the Home page
Welcome back! In our previous lesson, we learned how to add hero icons to our website, giving it a more visually appealing and professional touch. Today, we will dive into another exciting topic: adding images to the home page of your website. If you haven't gone through the previous lesson, you can catch up on this link Add Heroicons to Your Website
Images have the power to enhance the overall look and feel of your web pages, making them more engaging and captivating for your visitors. So, let's get started and explore the steps involved in adding images seamlessly into your Astro project.
1. Install Astro Images
To begin, we need to install the Astro images into our project. This step allows us to work with images efficiently and take advantage of optimized rendering techniques. You can refer to the official Astro website for detailed instructions on installing images, but in summary, you can use the following command:
yarn astro add image
Make sure to kill the server in your Visual Studio Code terminal before running the command by pressing Ctrl+C. Once you run the command, follow the prompts and select "yes" to proceed with the installation.
2. Add Images to Your Astro Project
Once the installation is complete, we can proceed to add images to your Astro project. Visit unsplash.com or any other source of your choice to select an image that aligns with your website's theme and purpose. Ensure that you choose an image with the appropriate license to avoid any legal issues.
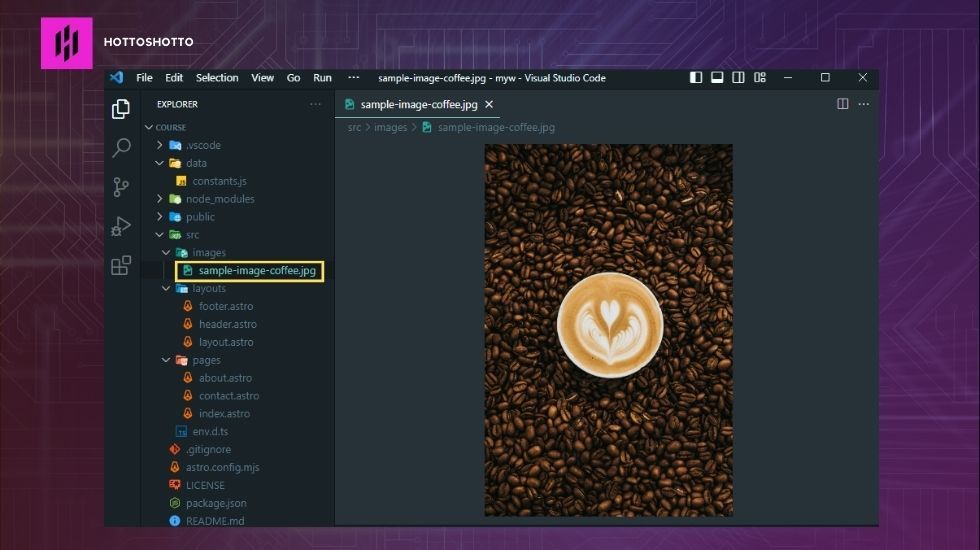
After downloading the image, navigate to your project's directory in Visual Studio Code. Create a new folder called "images" within the "src" folder,
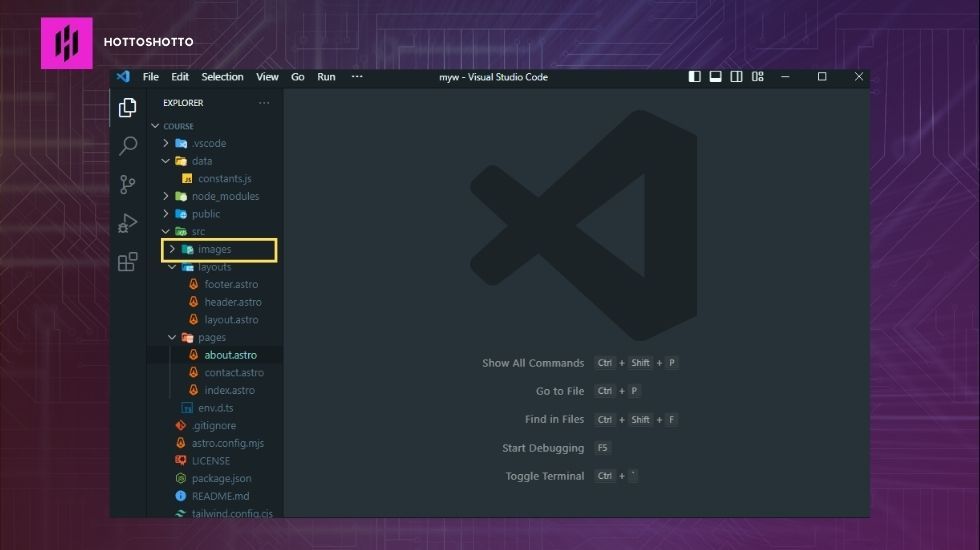
and place the downloaded image inside it. It's crucial to prepare your image before adding it to the project by resizing it to the desired dimensions and aspect ratio. Typically, graphics are saved as PNG files, while photographs are saved as JPEG files.
3. Integrating Display Images on Your Page
Let's integrate the image into your Astro project's home page. In your VS Code terminal, install the "sharp" package by running the command:
yarn add sharp
Next, open your Astro configuration file and locate the image-related code. Replace the existing code with the following:
image({
  serviceEntryPoint: "@astrojs/image/sharp",
}),
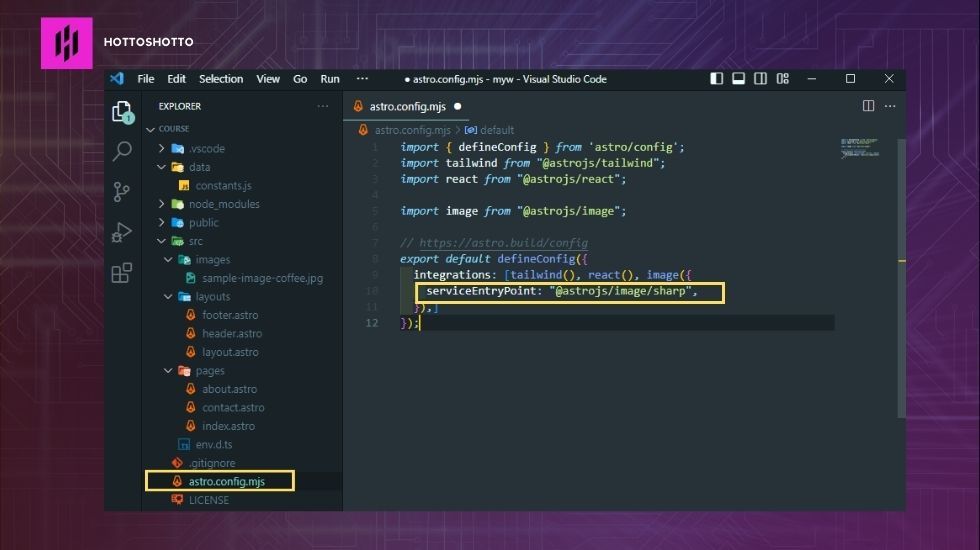
This update ensures that the sharp package is utilized for image processing within your project.
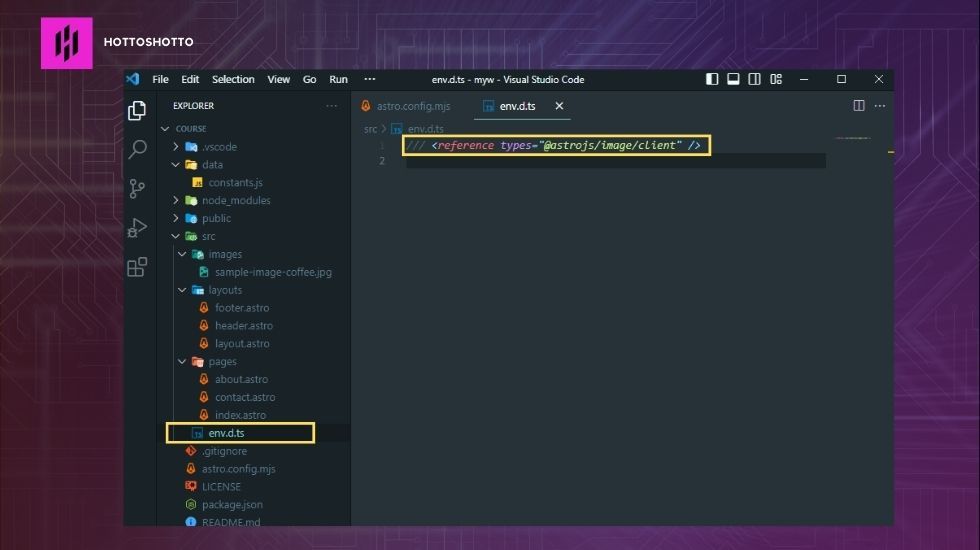
Now, let's update the environment declaration file (env.d.ts) by replacing the existing Astro client code with the following:
/// <reference types="@astrojs/image/client" />
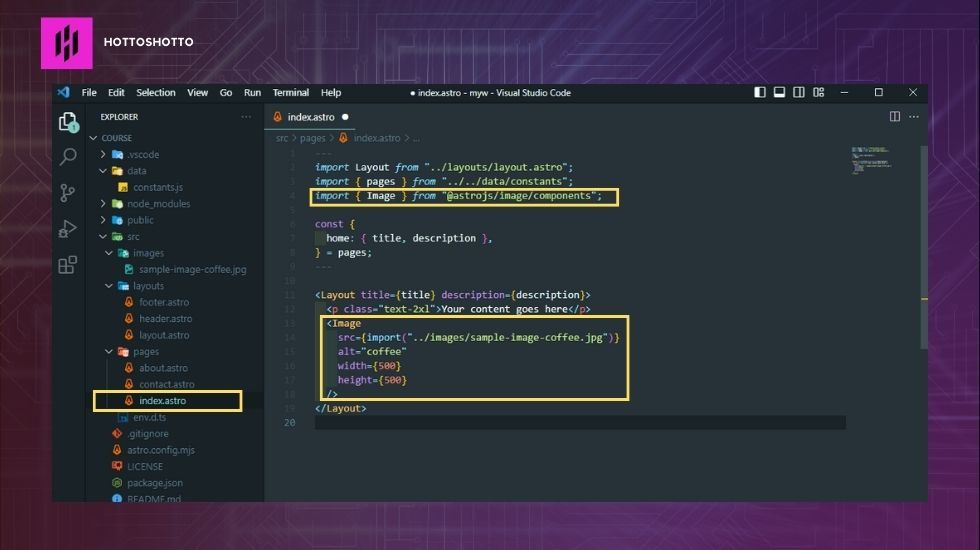
Moving on, open your "index.astro" file and import the Image component:
import { Image } from "@astrojs/image/components";
Within the layout section of "index.astro", insert an image tag using the example syntax below:
<Image src={import("../images/sample-image-coffee.jpg")} alt="coffee" width={500} height={500} />
Replace "sample-image-coffee.jpg" with the actual file name of the image you downloaded. Additionally, provide appropriate values for the alt attribute, width, and height properties based on your image's specifications.
Finally, save the changes and refresh your browser to see the image displayed on your home page.
Now, let's see how it would look in our developer server.

Congratulations! You have successfully added an image to your Astro project's home page. The inclusion of compelling visuals will enhance the overall user experience and make your website more visually appealing.
In the next lesson, we will explore further ways to enhance your website's functionality and design. To stay updated, visit us at HottoShotto and stay tuned for more exciting lessons!